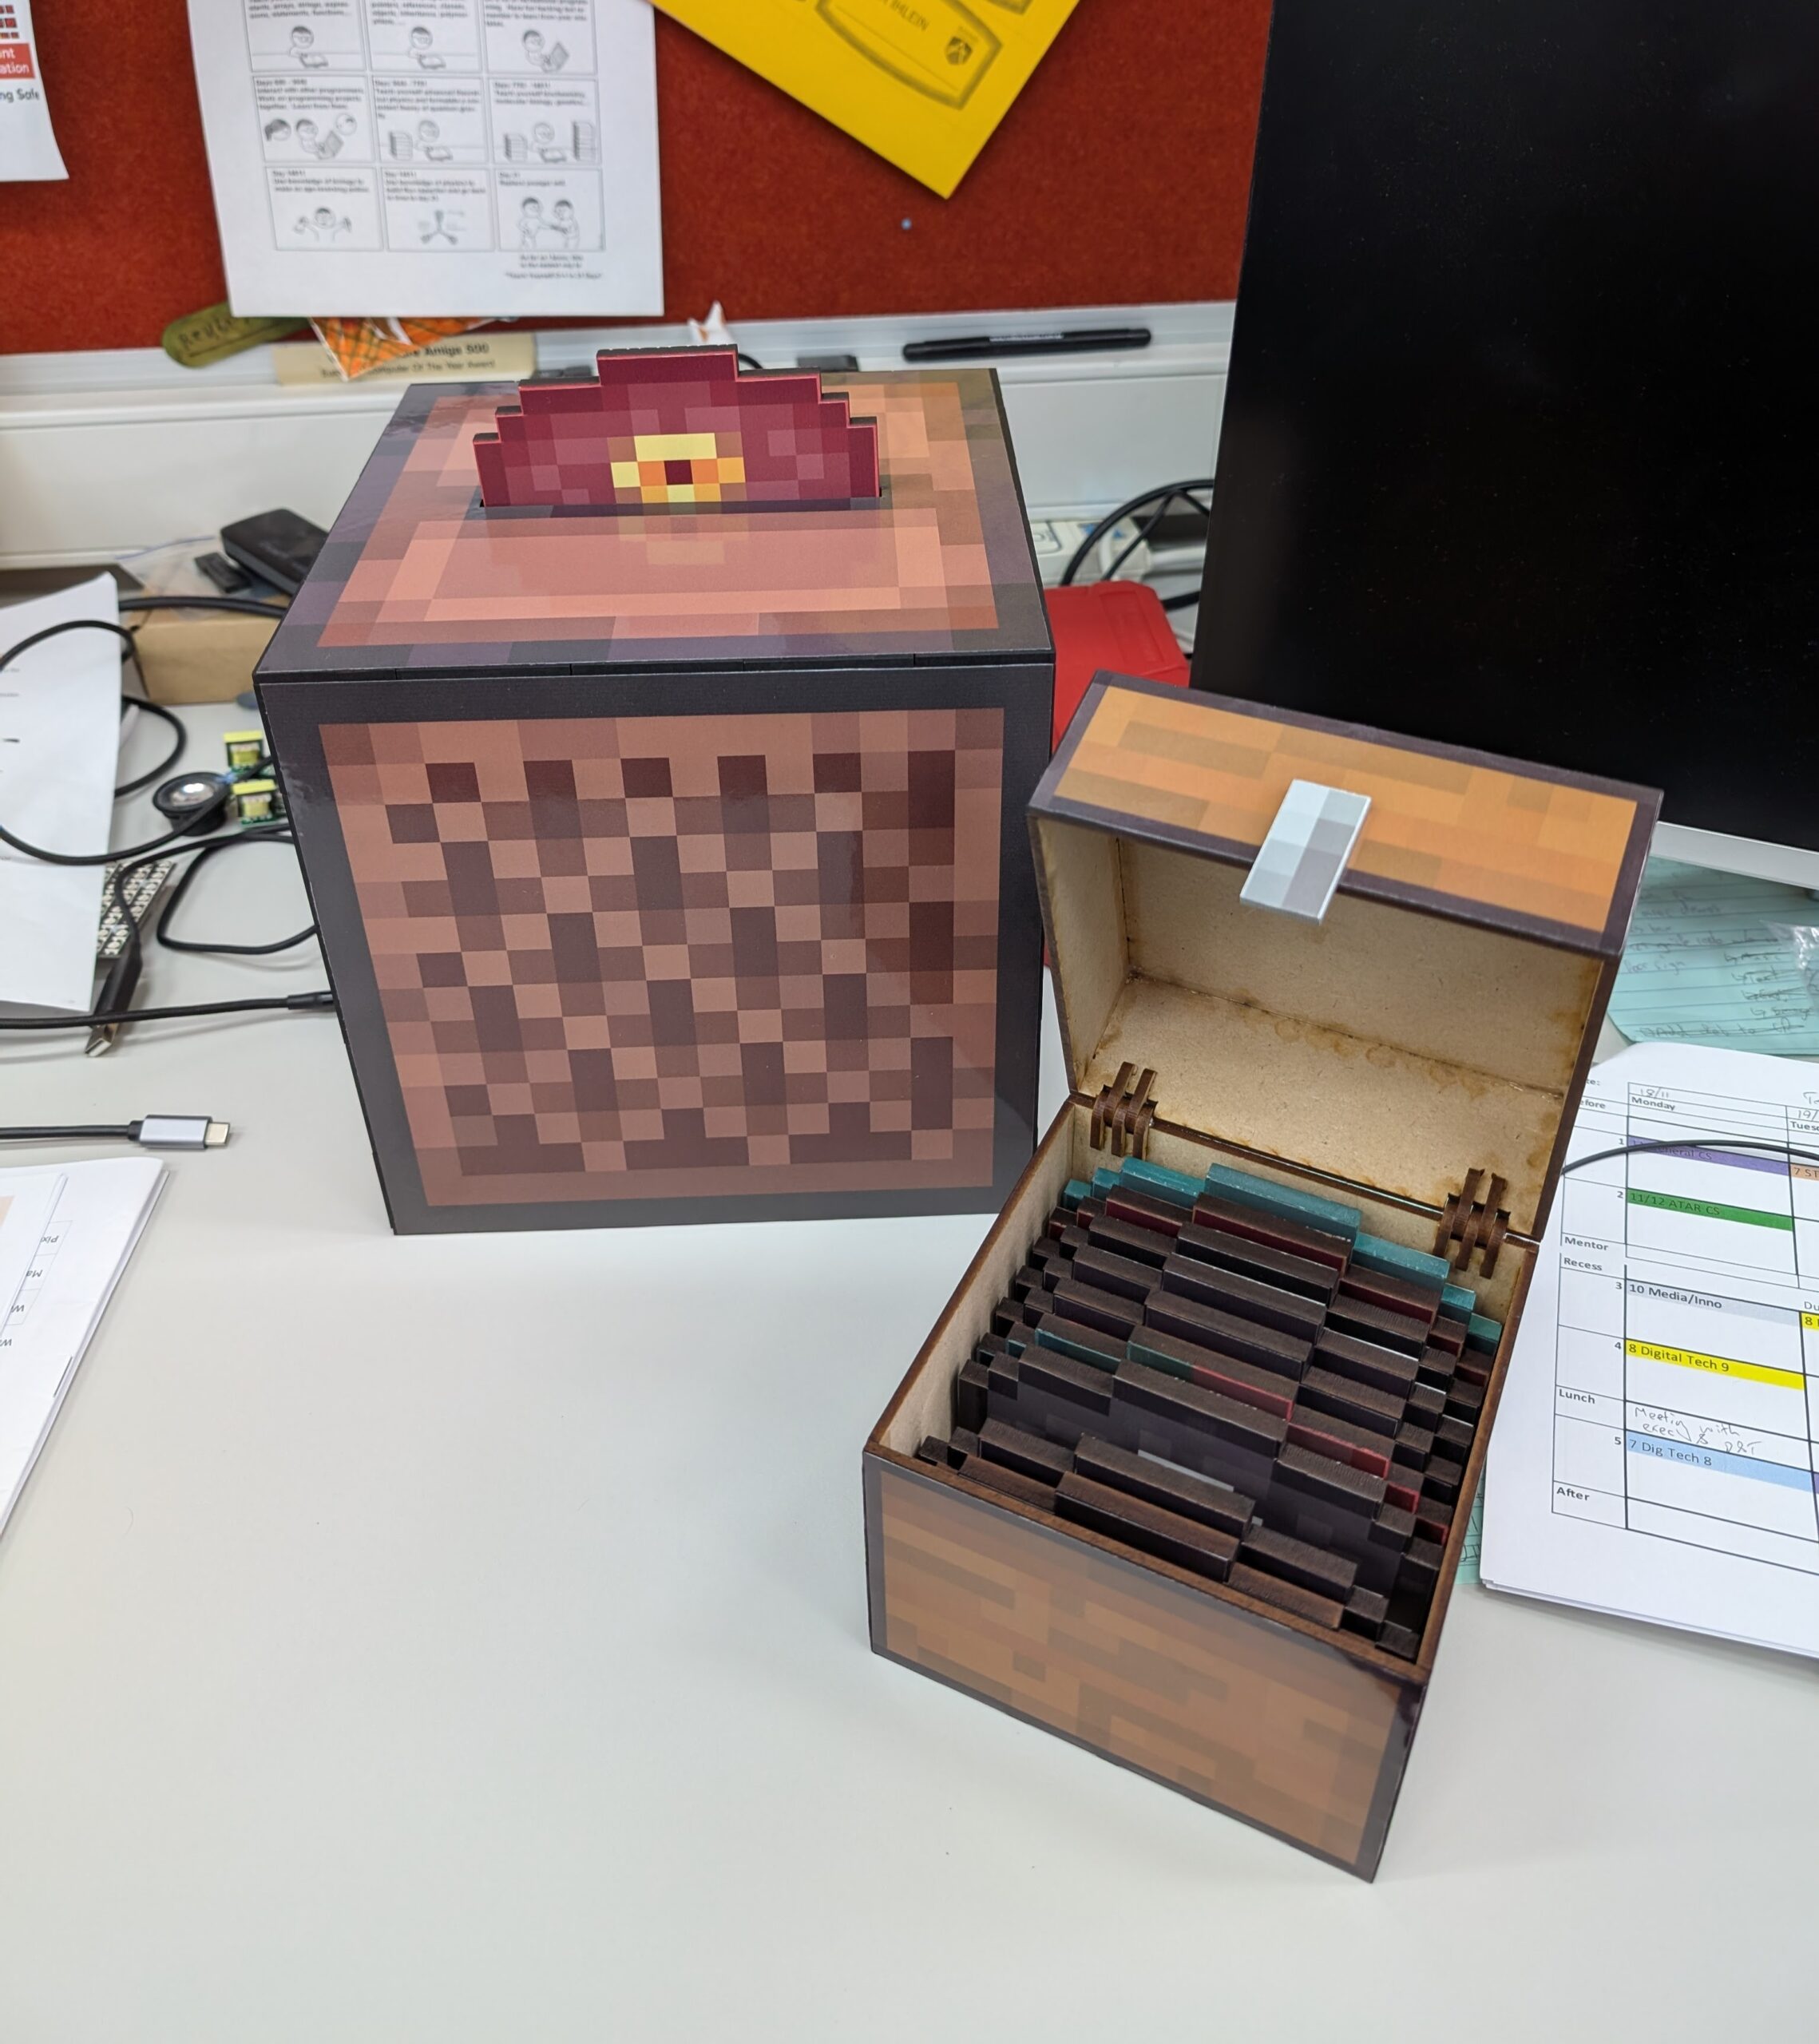
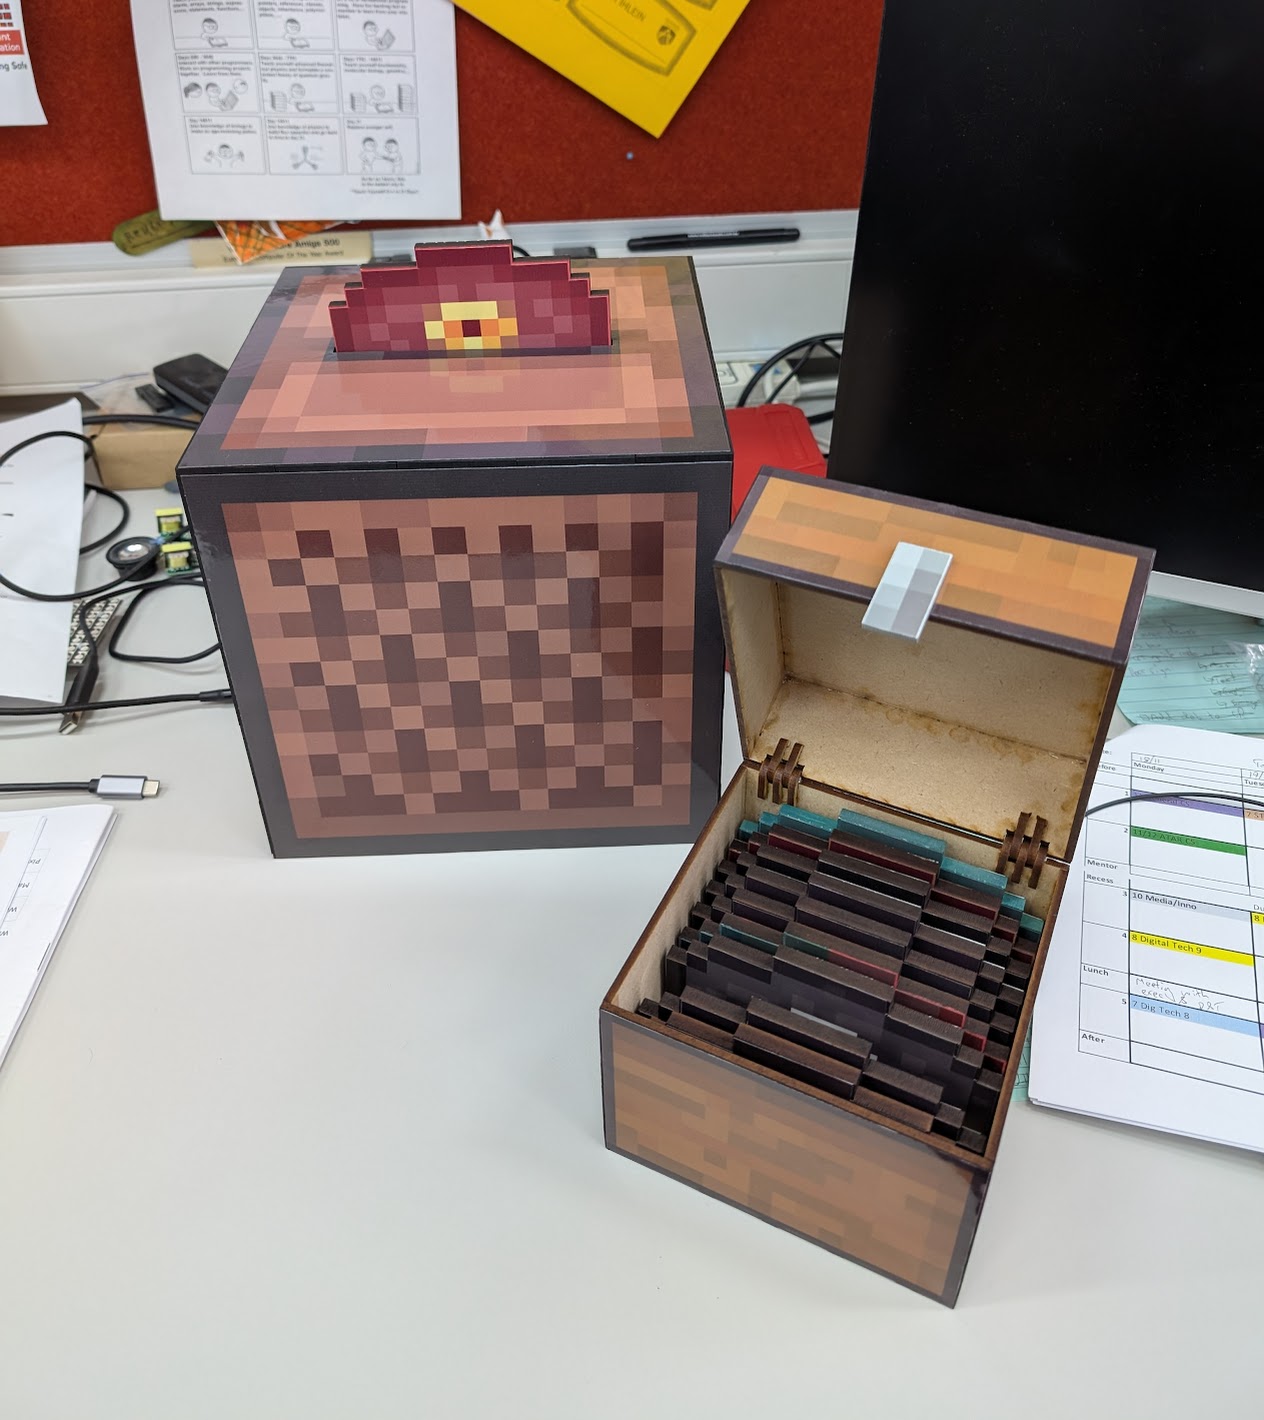
In 2024 I built this thing.
It uses a Raspberry Pi Pico with a limit switch and RFID reader to control an MP3 player – each disc has its own RFID tag.
In addition to the electronic components, the designs a built to work with a laser cutter (MDF – 3mm and 6mm) and vinyl printer/cutter (although if you don’t have access to one of these, a colour laser printer and laminator would do much the same job).
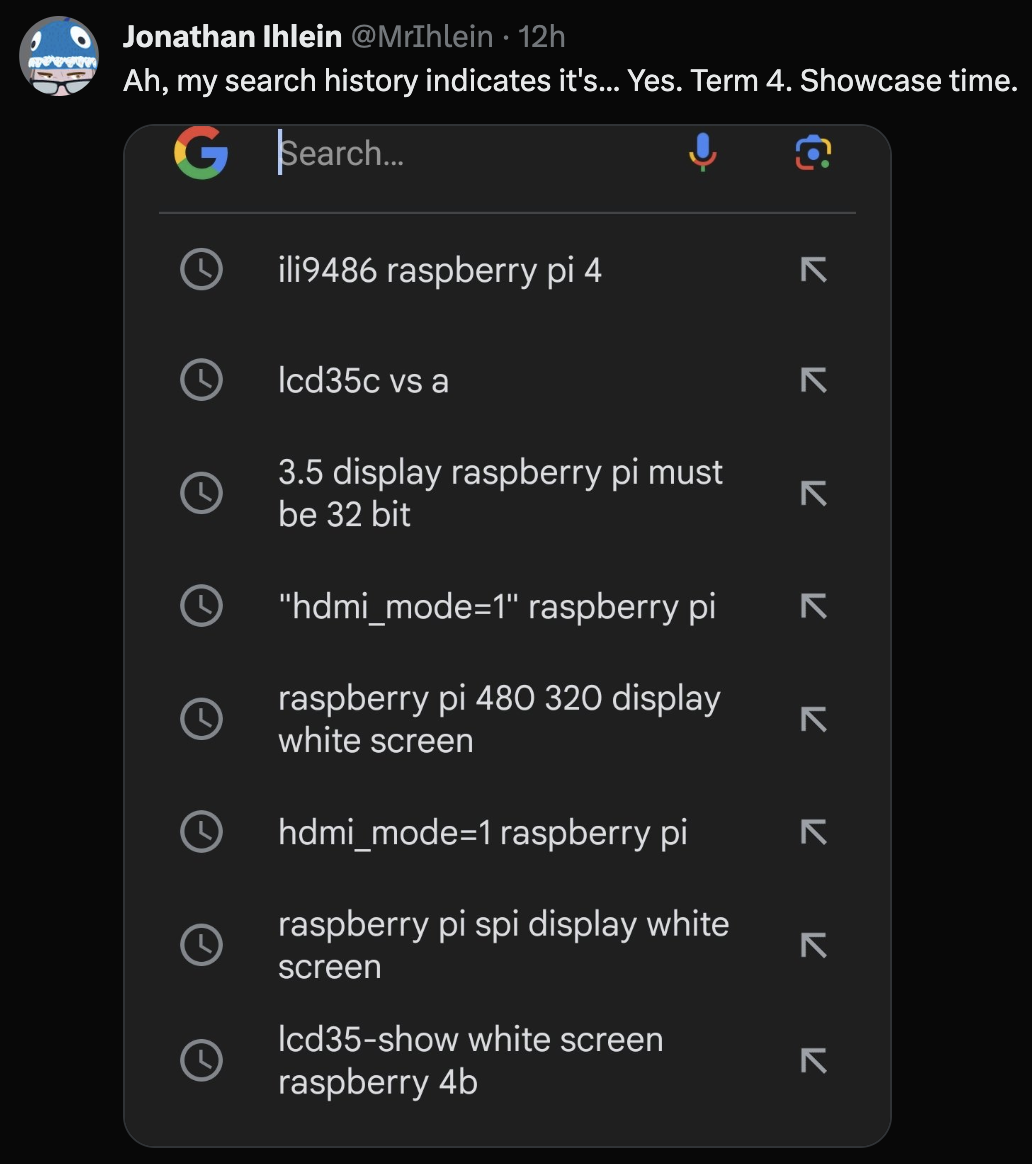
Here’s a demo, in which I managed to pick the two songs with the quietest intros:
Components to purchase
- Raspberry Pi Pico + headers 1
- PiicoDev Expansion Board
- PiicoDev RFID Reader
- PiicoDev Cable
- Jumper Wires 2
- Almost any limit switch 3
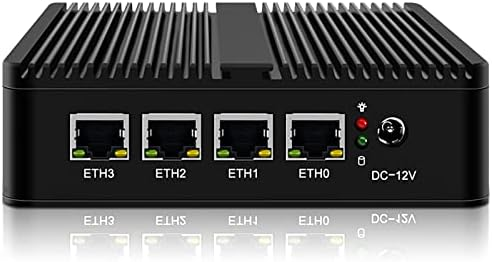
- DFPlayer Pro 4
- Almost any speaker
- Some RFID stickers
- A bunch of MDF in both 3mm and 6mm 5
- Posca paint pens – various colours (including metallic) but black is most important
I’ll assume you have access to soldering equipment, wire stripper/cutter etc.
Schematics
You can download all the laser/printing files here.
Note that there are three copies of each laser cut file – Adobe Illustrator, SVG, and DXF. They should all be the same, but the formats are there for convenience. Each file should have a 10mm reference square that does not need cutting. The file name will indicate the material (all MDF, but you could conceivably use acrylic if you wanted) and the thickness. It’s a bit hodge-podge – sometimes items that are not obviously related are included as I wanted to do cut runs for a particular thickness.
Colours – where there is only one colour, just cut. Where there is more than one colour, magenta indicates cut, black indicates scored (marked, but not cut through). It’s sometimes nice to mark where a piece needs to be glued. I may have been inconsistent with these as I built them up a bit at a time, so use common sense as necessary.
For the printed panels, I’ve included two copies – Adobe Illustrator and PDF for vinyl. The jukebox skin has a file just for printing where the pink CutContour has been removed. At the time I built the machine, our vinyl cutter was unable to cut laminated prints, so none of the other skins have CutContour lines set. If you have access to a vinyl cutter, I’d strongly recommend adding CutContour lines to let the machine do your cutting (especially for the discs). Note that as all my printing was on a vinyl cutter (which is large format), the sizes in the PDFs for printing may not be great for regular A4/A3 printers. Some editing may be necessary. Either way, I’d strongly recommend laminating these panels as wear is likely.
Assembly
Most of the laser cut panels will slot only where they are supposed to go – one or two items (such as the RFID support above) need to be positioned manually and glued. For MDF, always use PVA glue 6. Hot glue is an awful adhesive and super glue is probably overkill, but you do you.
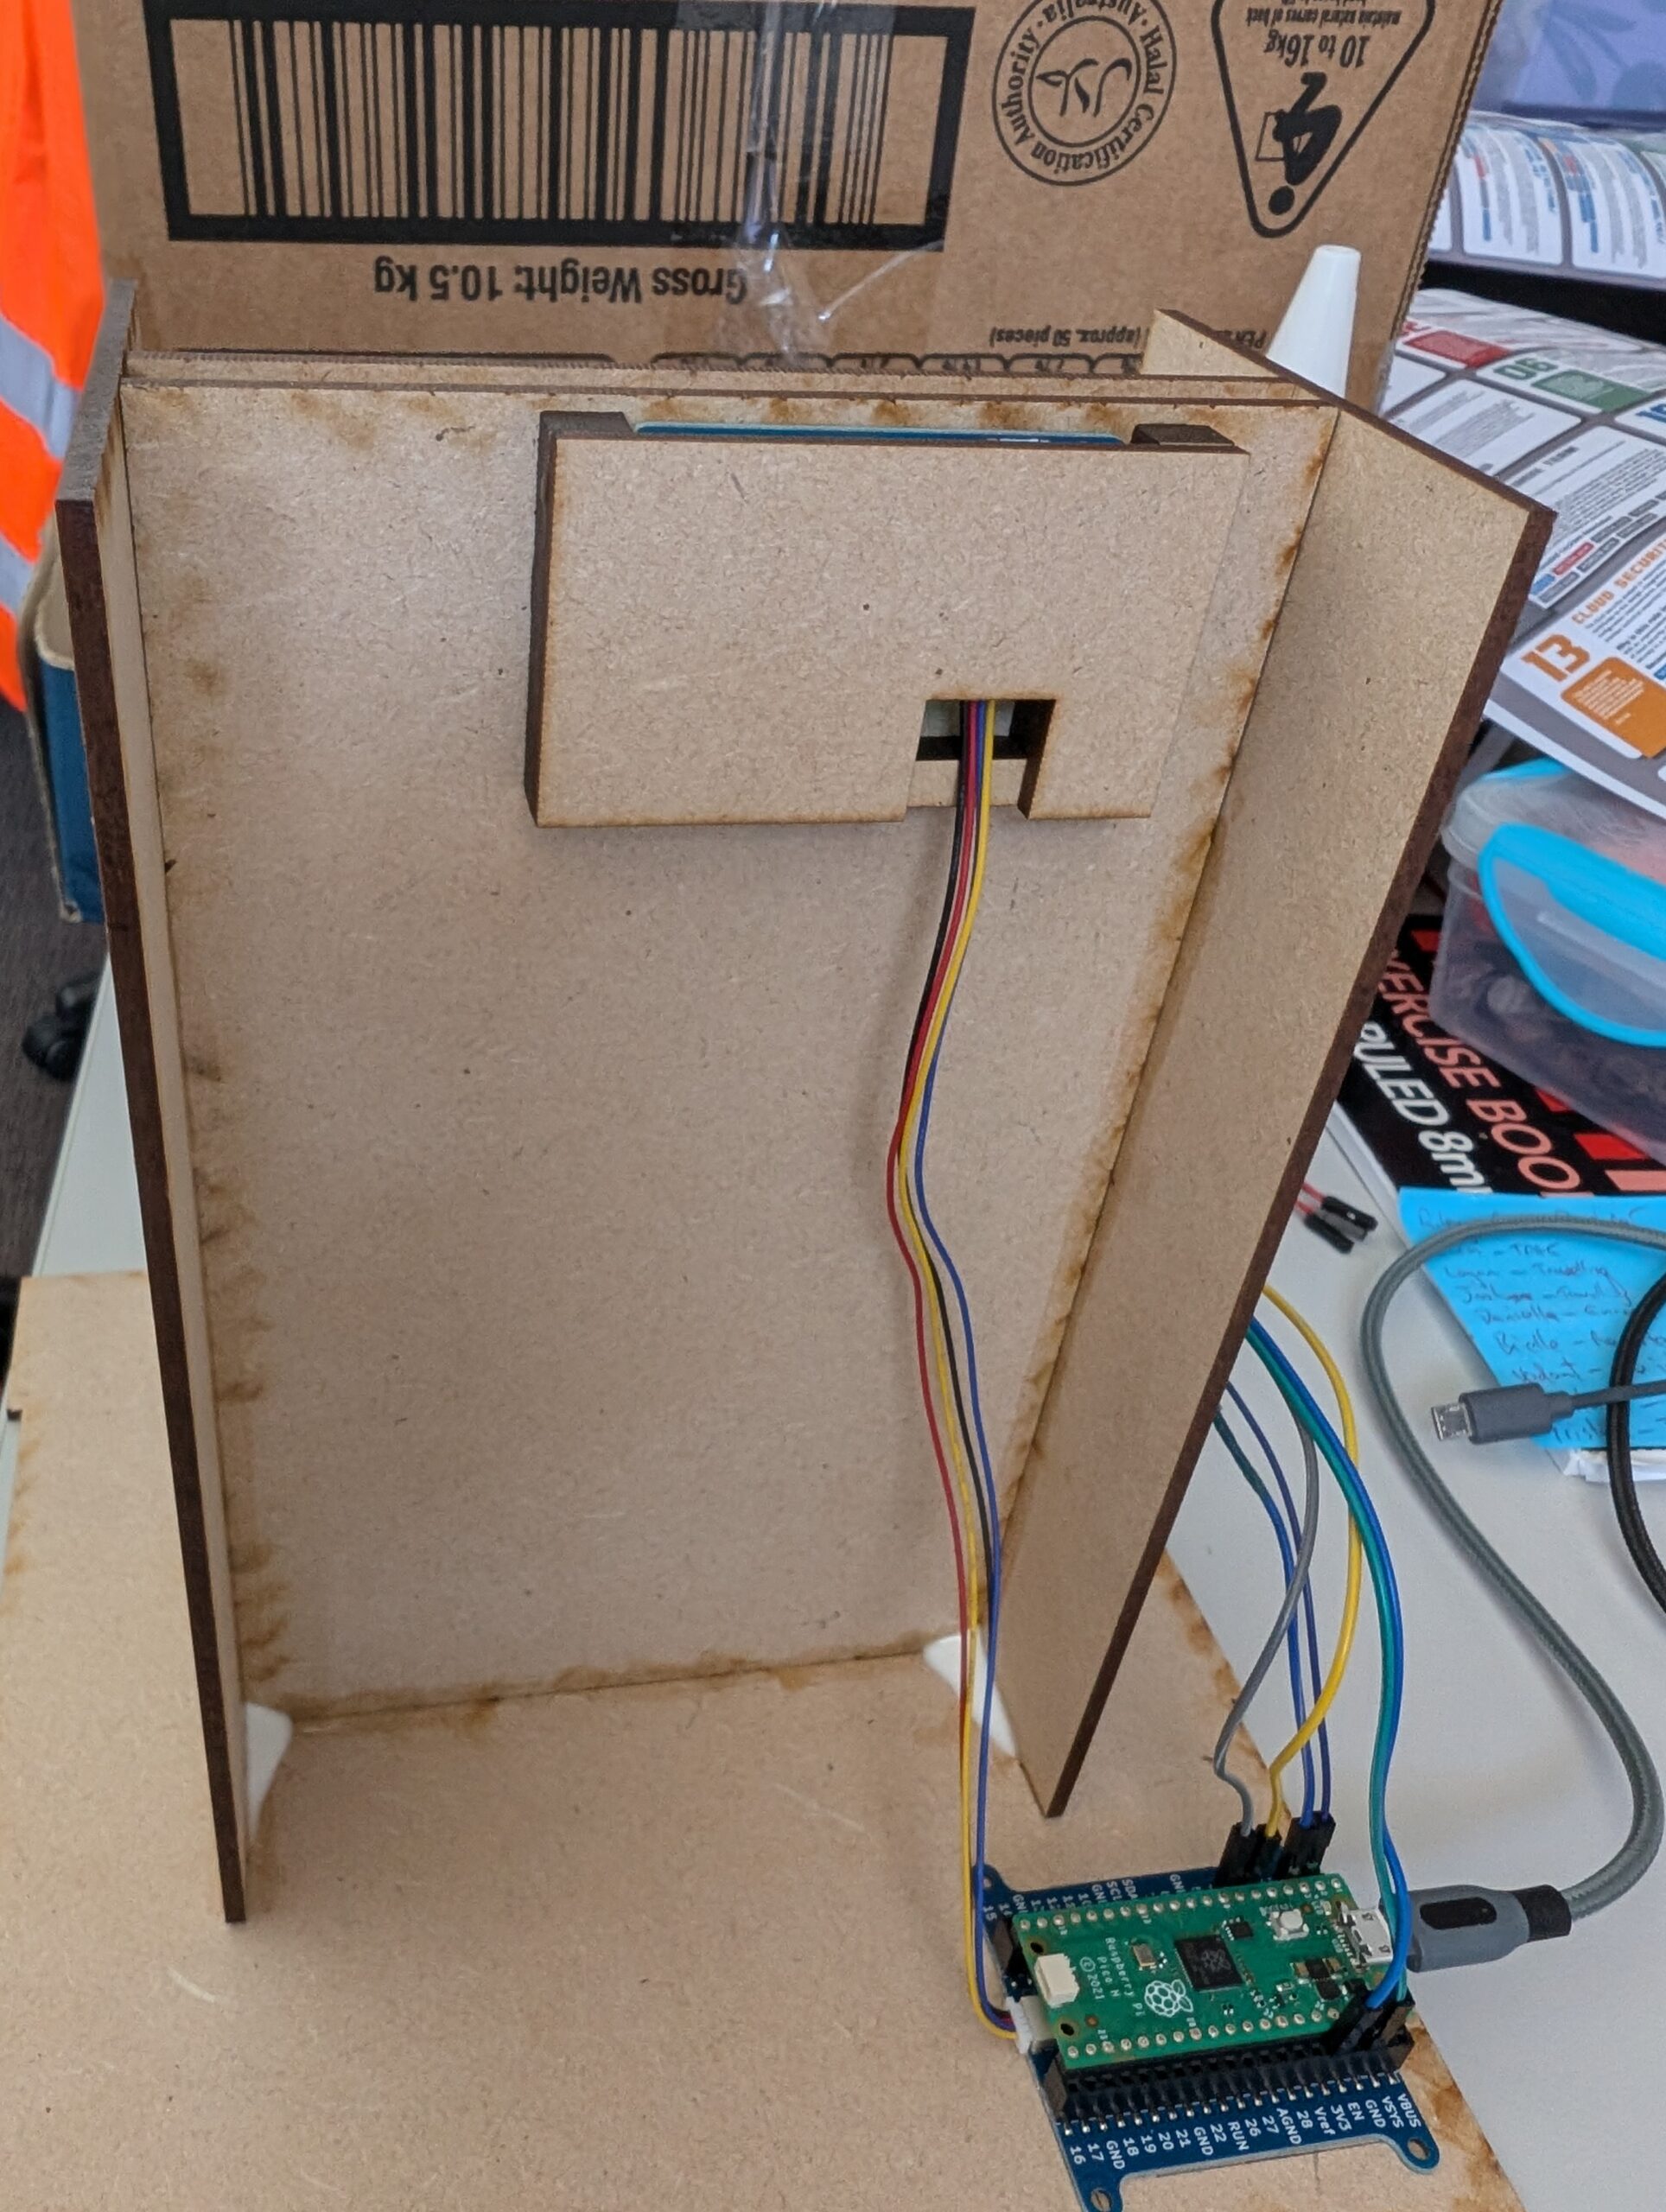
I haven’t determined an effective way to mount the Pico – it probably deserves a little MDF cage or something, but it wasn’t on my list of priorities, so there is some movement inside the box. Feel free to design something up and send me the changes!
Wiring the Pi to the MP3 player:
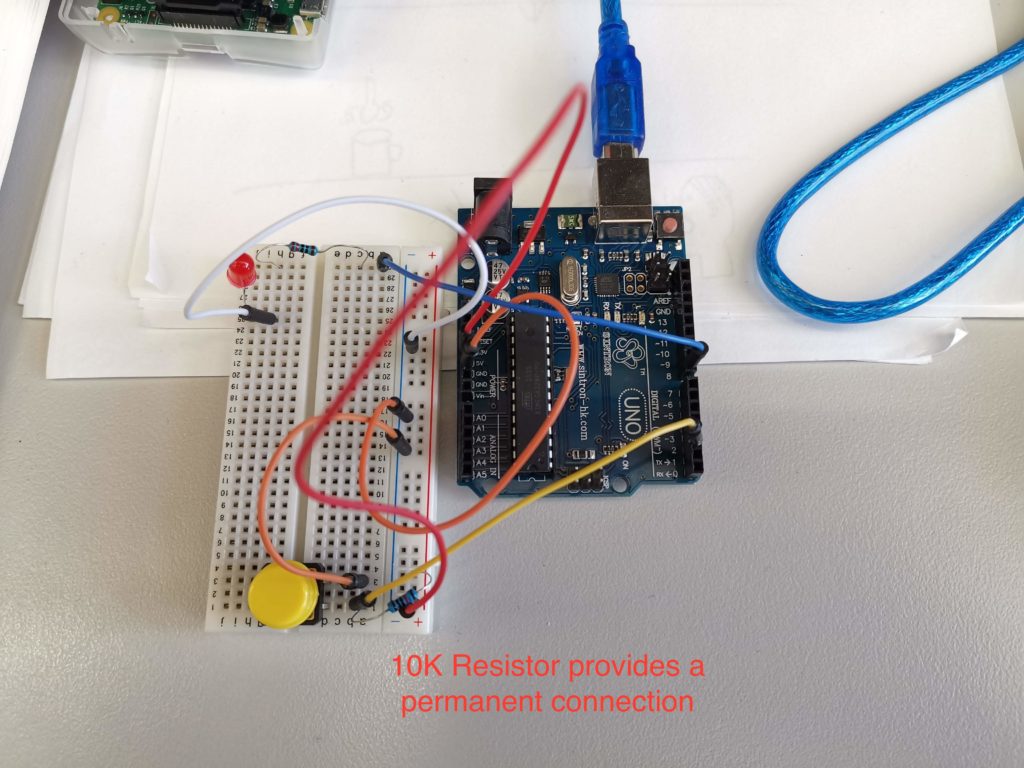
Pin 4 on the Pi is wired to the RX on the player; pin 5 is wired to the TX. In the code, you’ll note the pin variables are labeled with 4 and TX and 5 as RX – in other words, the Pi listens on the pin that the player talks on and speaks on the pin the player listens to.
Power the player using the 5V VBUS pin, as indicated in this post. Although the player can use 3V, it appears the Pico is often unable to provide consistent power for it through this pin.
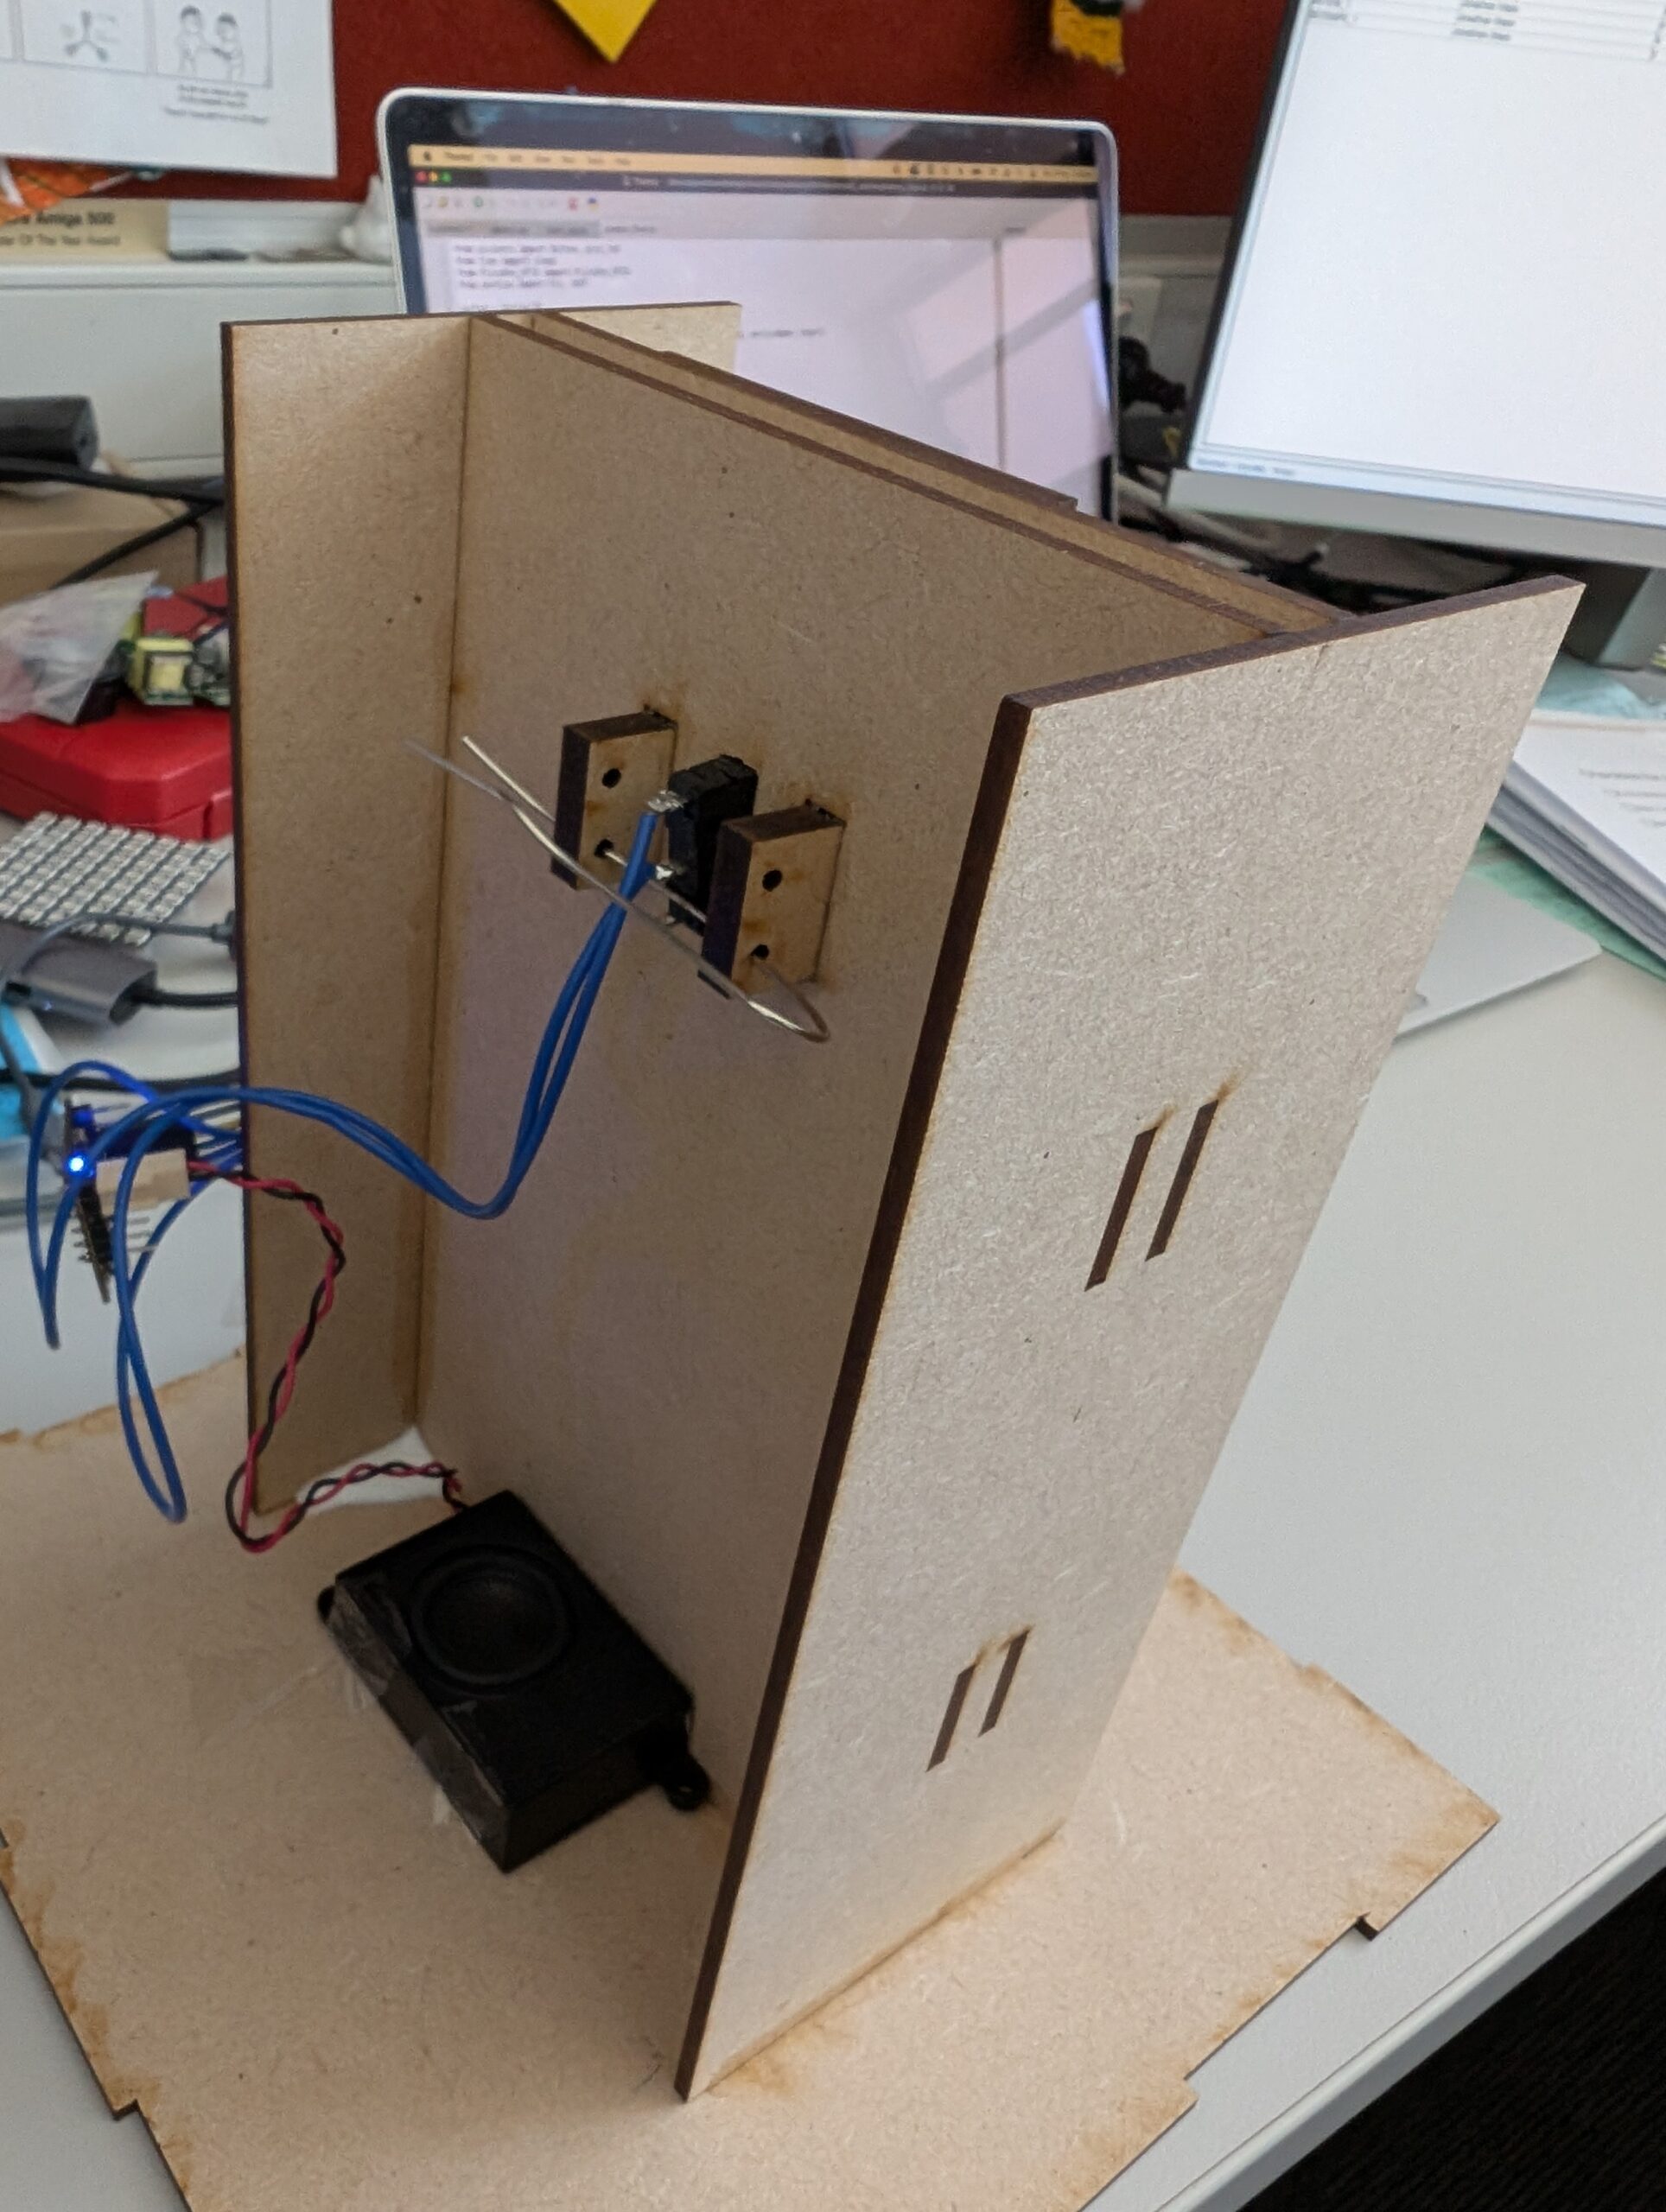
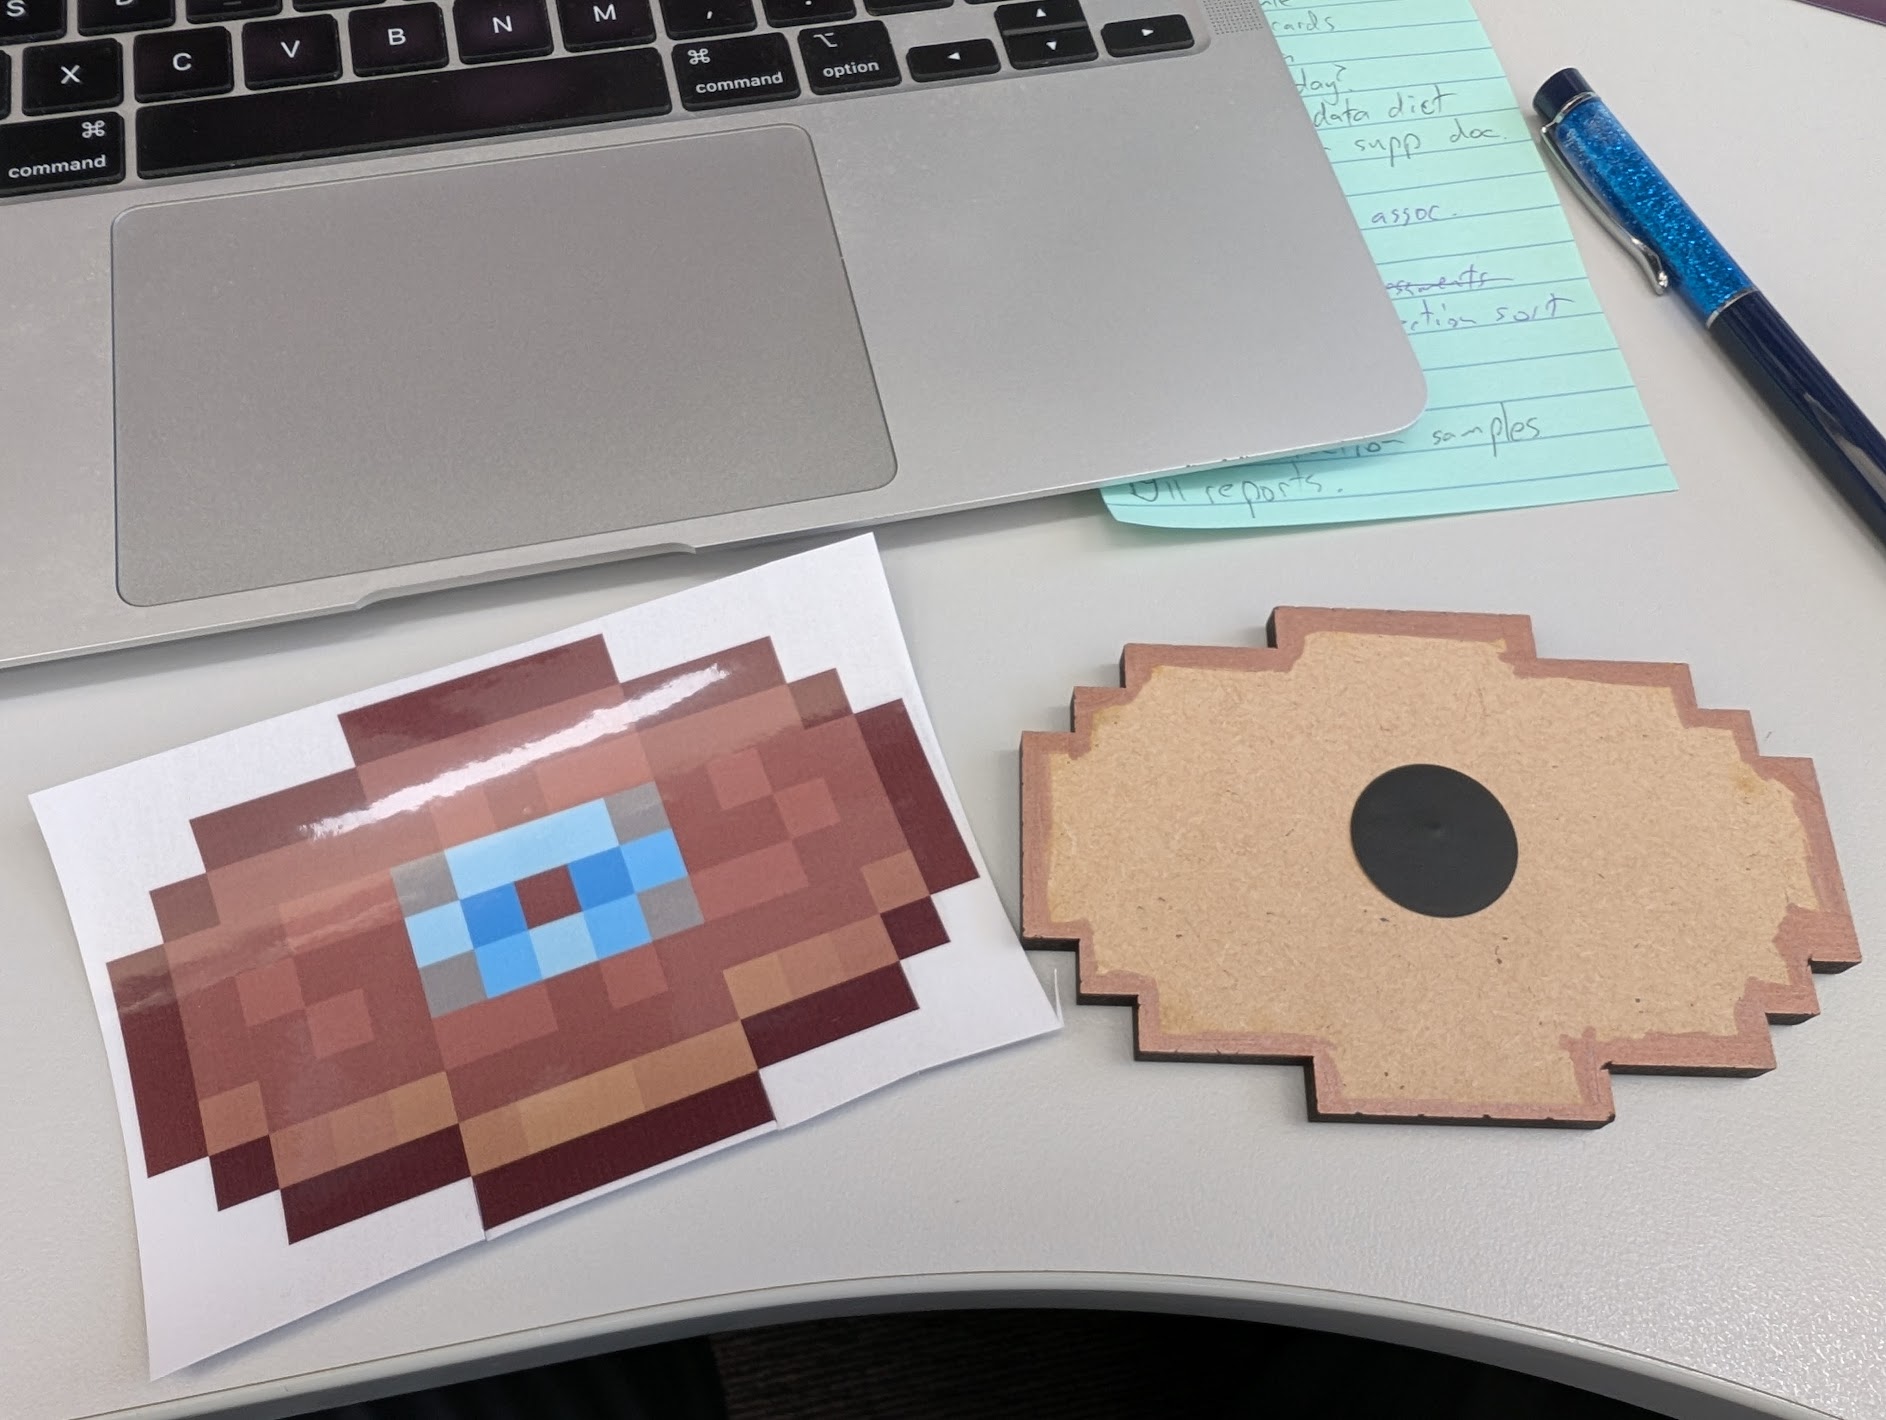
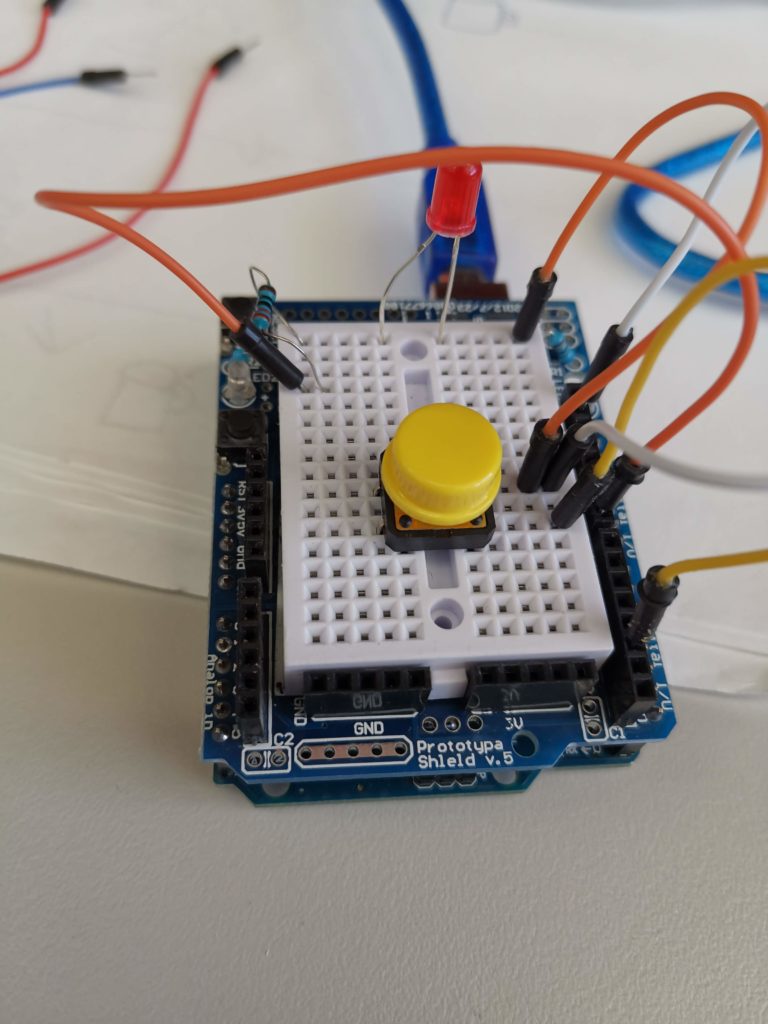
Weirdly, the switch was the component that gave me the most grief. It was a pain to cut and resize the hole for it, as it needed to be snug in order to give enough resistance when the discs were inserted. I ended up the little supports in the image – but managed to cut them 3mm too wide as accounting for material thickness appears not to be my strong suit. I believe I have resolved this in the design, though I just made do using ones pictured in my final build. The idea is that the holes in the supports line up with the mounting holes in the switch, allowing for pins to be inserted to hold the switch in place.
What actually happened, is I twisted a paper clip into a shape that could hold the switch, found that it had too much give, super glued the switch to the MDF in frustration and ended up with vapour from the super glue coating the contacts inside the switch, making it useless.
Oops. I had to pry it out and replace it with another, smaller switch that I had on hand with two paper clips bent to size – the final design is decidedly jury-rigged, but it has held well for dozens of plays, so it’ll do.
I’d recommend you customise the design to match your limit switch dimensions and mount using pins/straightened clips per my original plan, but honestly, this seems fine.
I’ve wired my switch to pin 1 on the Pi and my code reflects that. Change it up if need be.
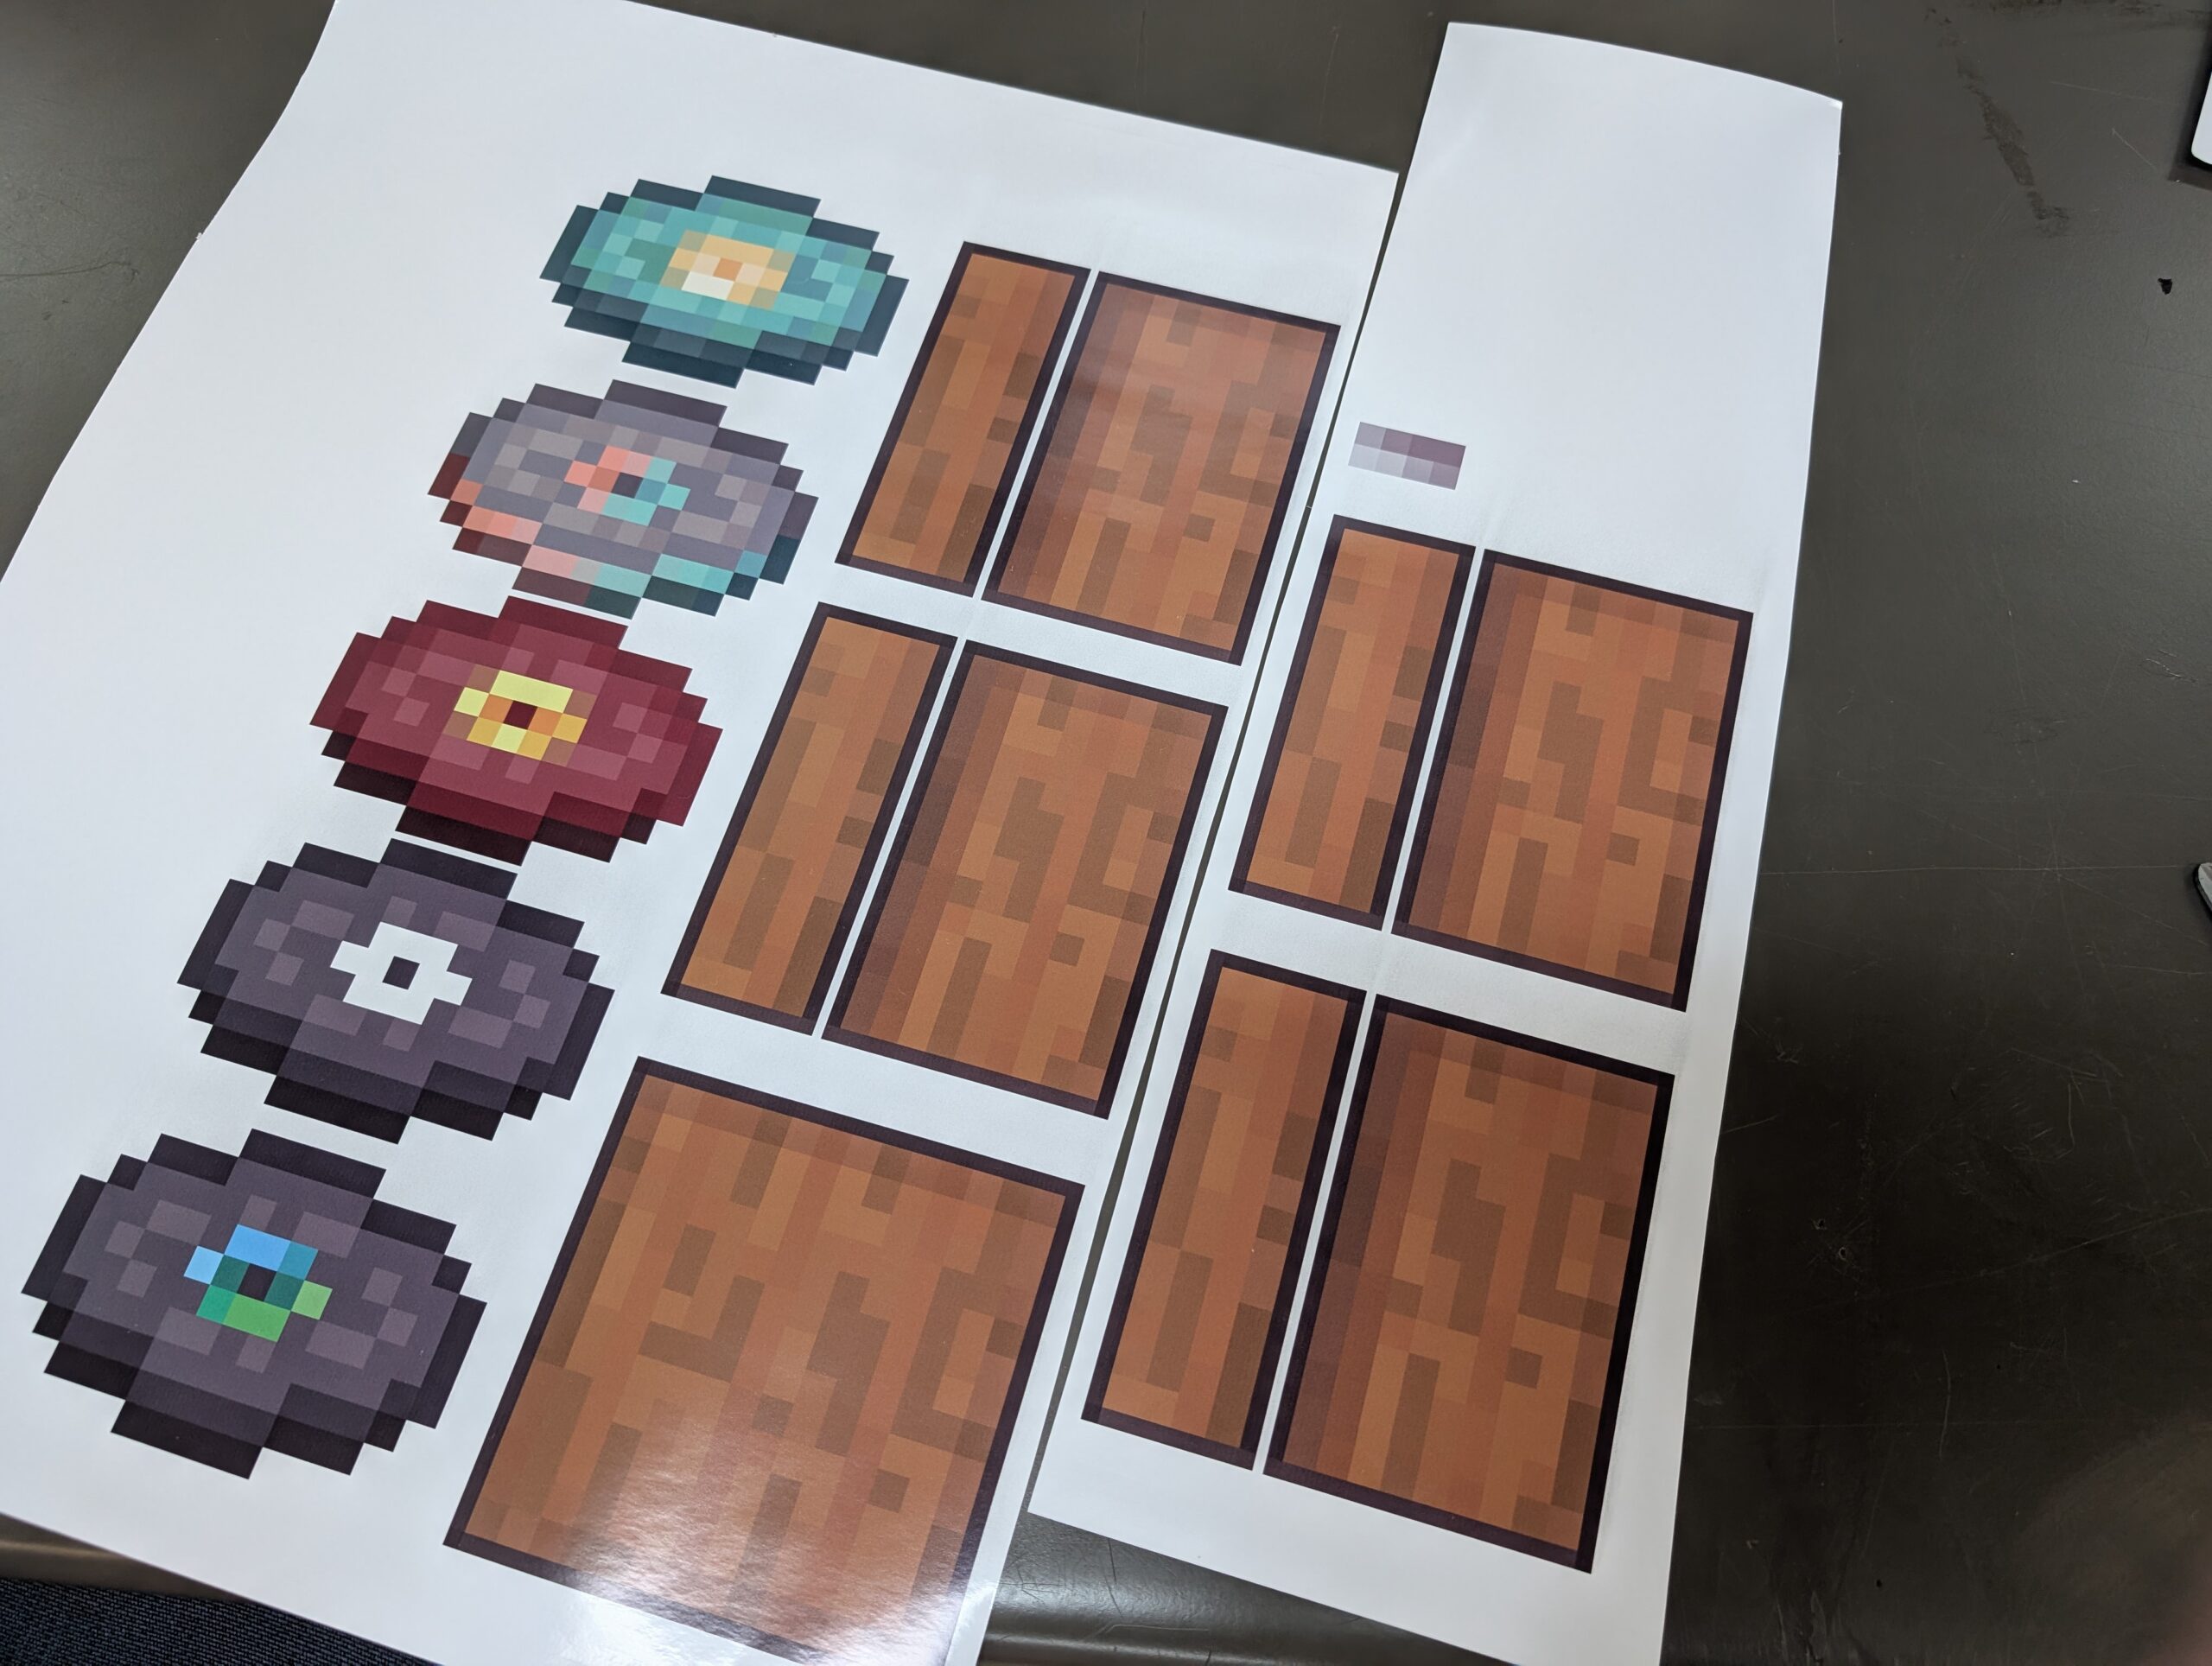
Vinyls/Skins
One lesson I’ve learned from previous projects is to use paint pens to go around the edges of the MDF before applying vinyls.
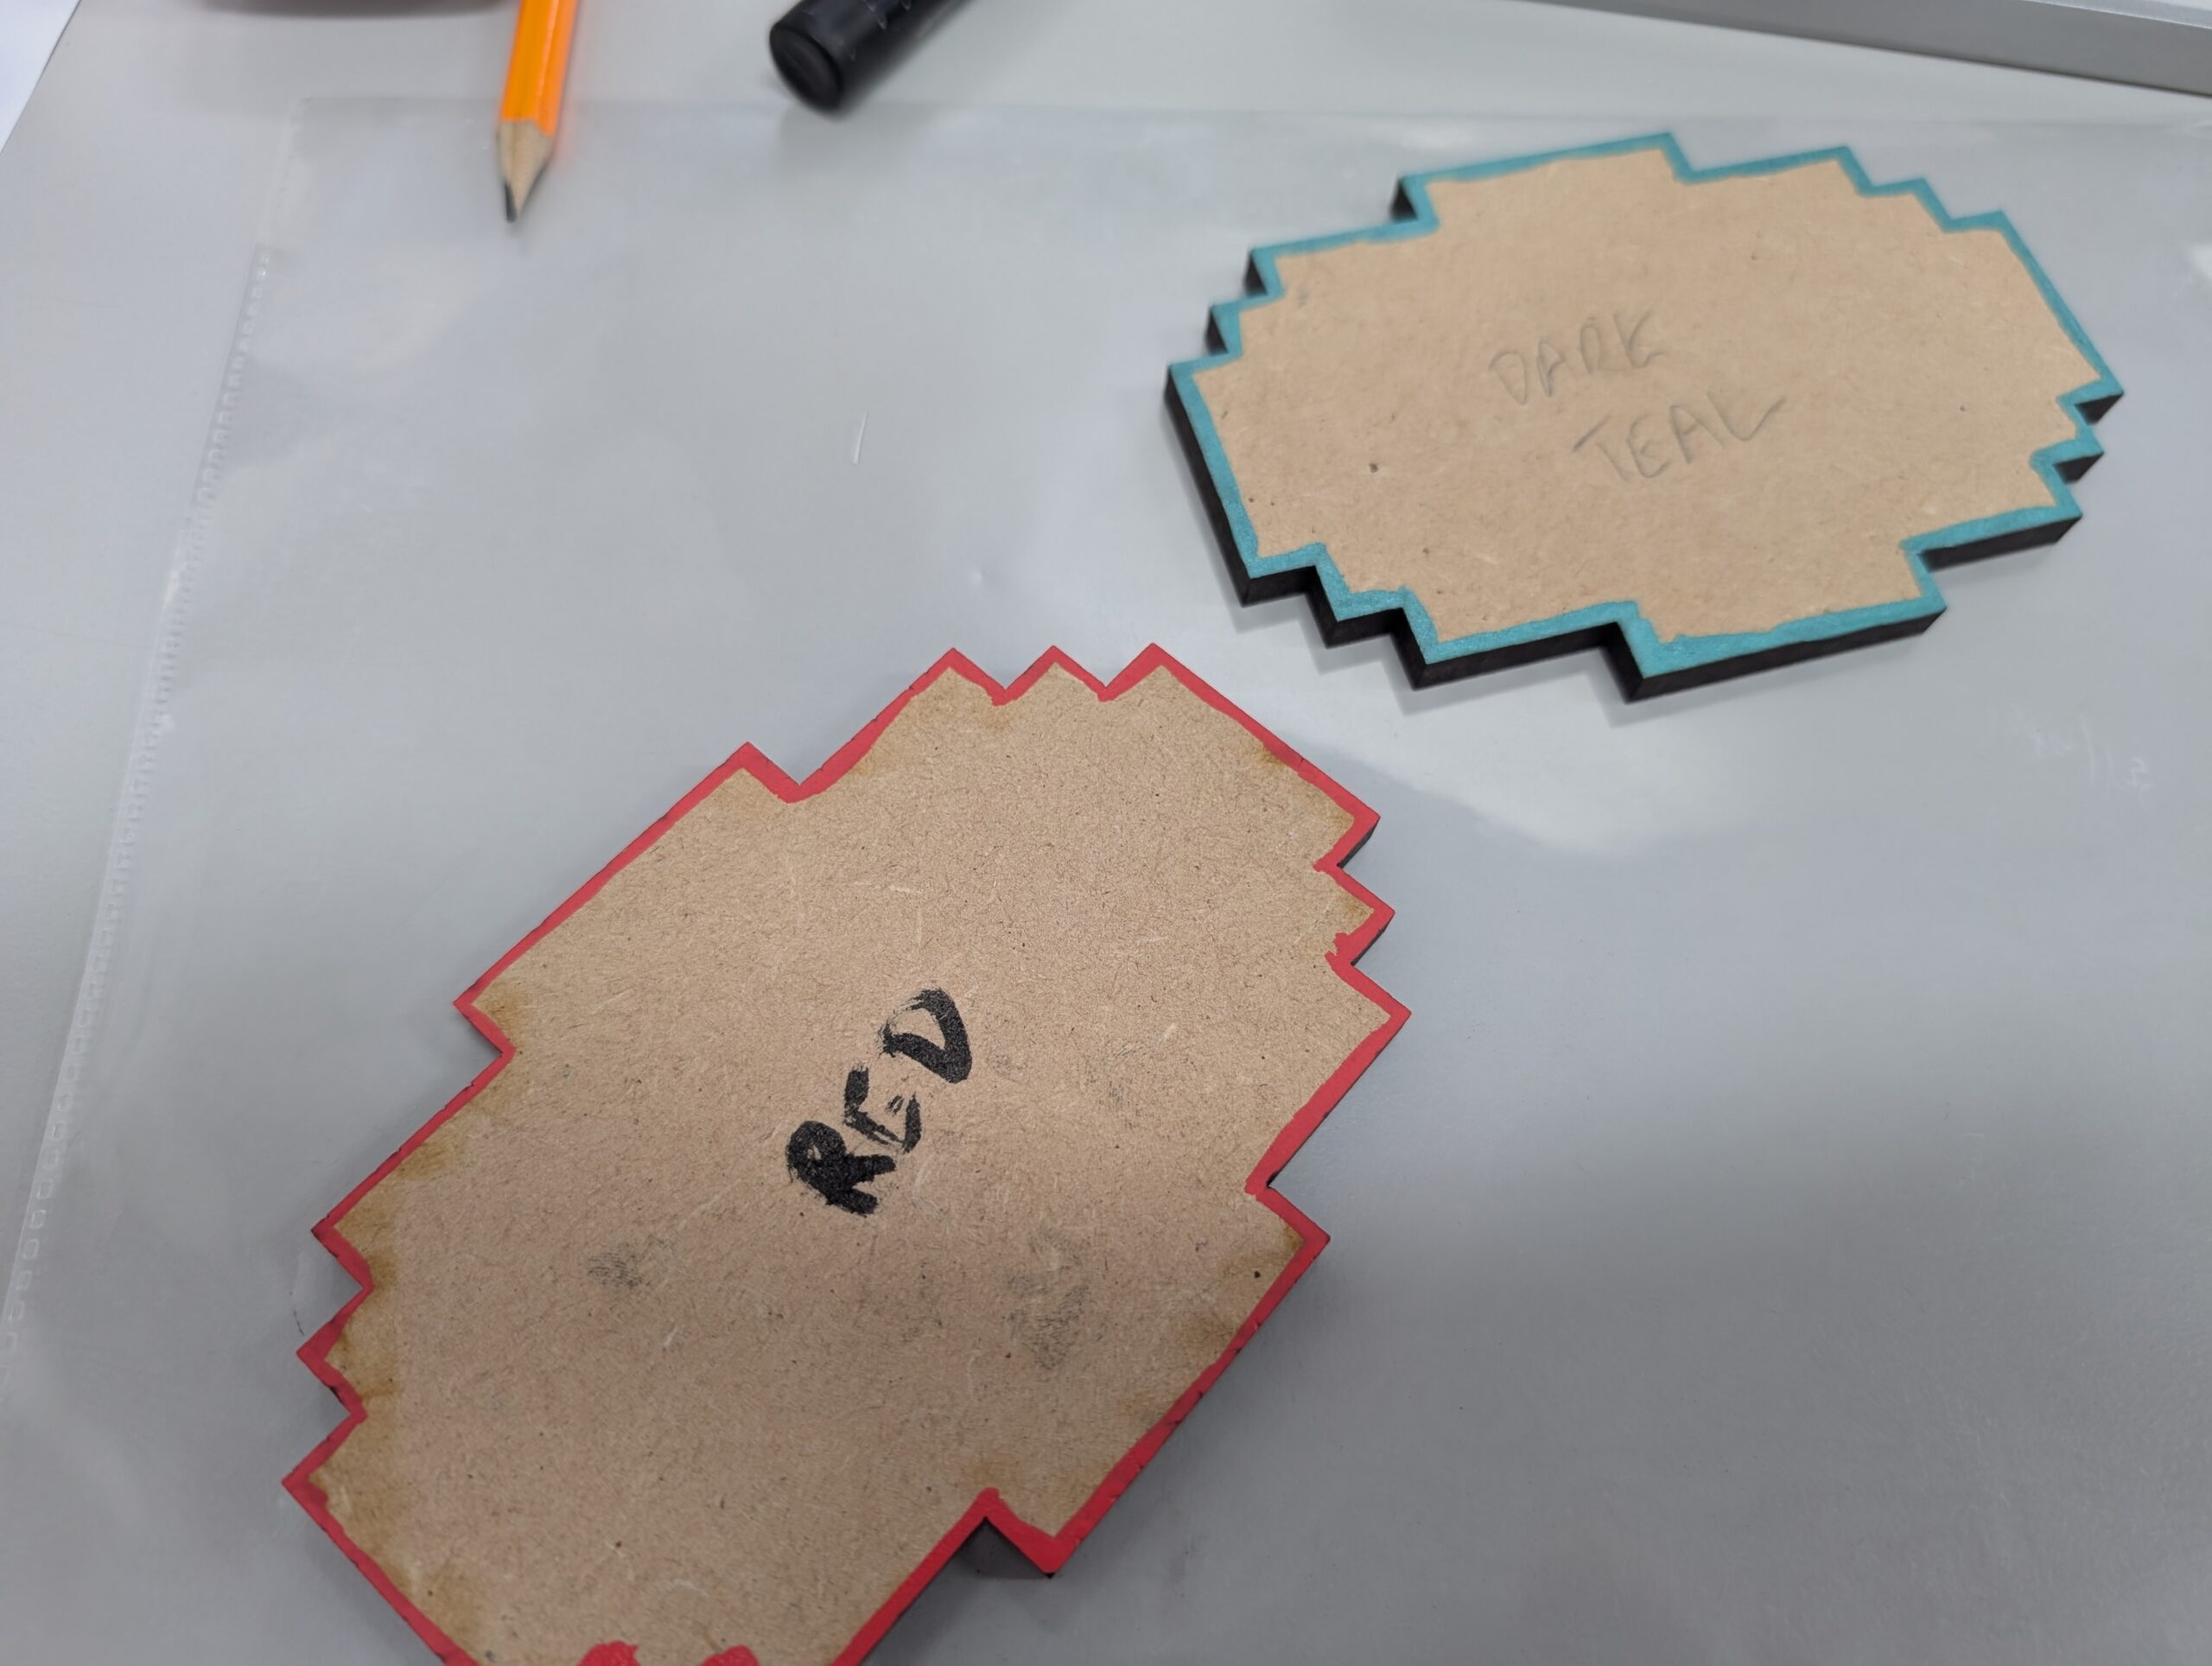
Posca pens are not cheap, but make the task particularly quick and easy. If you’d prefer to go the traditional route, that should be fine too – I will, in future, make my skins a little bigger – less wiggle room when applying, but less of the base material will show, which I think is worth it. You can scale your prints to something like 105% if you want to cover more of the MDF.
RFID Tags
Any standard RFID tags should work – Core Electronics does stock ’em, but not in the quantities we need – making them not a cost effective way to buy tags. The Amazon store linked to above sells them in various sets and they worked great, with the exception of exactly one tag that works fine with my phone but mysteriously won’t trigger the PiicoDev RFID reader at all. As I bought a set of 12 and had 10 discs, it wasn’t a big deal – but probably worth checking each of yours before applying the tags 7. Vinyls go over the RFID tag, leaving a pleasing bump where the thickness of the sticker shows slightly. As RFID tags trigger from a few centimetres away from the reader, the discs can be inserted in any orientation and still work with the jukebox.
Code
It can be used as-is, but for two rather big caveats:
- Each disc needs to be assigned to its RFID
- The MP3 player is bonkers and you can’t predict what track number is what
Now, you may be thinking, “Jonathan, why not just play the tracks by name?”
That would be great, but the player won’t allow me to do that when I’m controlling it via serial – the DFRobot Wiki does provide some documentation and a library for Arduino, but I’ve found communication via my home-brewed code on serial to be… inconsistently implemented.
The obvious solution would be to use an Arduino instead of a Pico – the library seems to be fairly robust and fully functioning from the odd times I’ve played with it – but I don’t want to use an Arduino, and I’d prefer to work with the PiicoDev RFID reader 9.
So… what doesn’t work/is quirky when driving this MP3 thing via serial?
First: It’s supposed to have a call/response implemented, but I can’t ever read the responses from the player – though you absolutely do need to leave spaces in your code to receive the reply, including a short wait time:
mp3_player.readline()
sleep(0.5)
Not leaving these in will result in complete non-cooperation from the player. It’s like having a weird one sided conversation, where the other person doesn’t ever say anything but will get up and leave if you don’t provide a pause for them to talk. I could well be doing something wrong here, but hey, this gets us what we want, so for now it’ll serve. Oh, and you’d better make sure you include the carriage return and line feed characters at the end of every serial write (“\r\n”) or the thing will refuse to communicate as well. It’s all very “simon says”.
Second: You’re supposed to be able to call tracks by name, but I got zero traction trying to use those commands. Instead, I can call the tracks by “number”, like so:
mp3_player.write("AT+PLAYNUM=12\r\n")
…except… there seems to be no sensible order to which track is which number, including the occasional double up (eg, track 3 and track 4 both being the same file). This is exacerbated if you’ve added your tracks using a Mac OS system – Mac likes to leave its little trail of nonsense directories and files for the convenience of Finder, but the player gets really confused by these ghost files. Removing them via a Windows or Linux system makes the whole process much more straightforward, but there’s still no getting around the fact that you will need to write code to play each track number in turn and then record which is which. Just make sure all your tracks are on there before you run the code, as new tracks can interfere with the order.
You might think that sticking a number in front of the file name will make the process more predictable – it seems to have some effect, but isn’t predictable enough to ensure that track 07 will actually be track 7.
Third: The “prompt” – when the device is first powered on, it’ll loudly announce its mode. This is undesirable. It’s easy enough to run a line of code once to switch this off:
mp3_player.write("AT+PROMPT=OFF\r\n")
Finally: The stop command doesn’t. There are various references to “pause” in the documentation, and I believe it works using the Arduino library etc etc, but I just simply could not get it to work via plain serial in Python. The solution? Well, the player does function correctly in its “play track once and then stop” mode. I think you see where this is going.
I have a short track which is silence (not too short – I received some unpredictable behaviour/pops when using a track <=1s) and this is played when I want a track to stop (ie, the disc is removed).
It does the job.
You can use the AT commands to set the volume, so there’s lots of scope for additional controls/wifi controls if you desire:
mp3_player.write("AT+VOL=20\r\n")
The docs indicate the volume can be set from 0 (mute) to 30 (max). 20 (two thirds) works for me, YMMV.
Disc Fit
The design allows for the shape and size of each disc to slot exactly into place, both in the storage chest and the player itself. If you don’t line up/adjust the disc exactly right, it won’t sit level which is slightly annoying.

I’m calling this design a “feature” to encourage better fine motion – it’s occupational therapy!
In reality, it’s a design flaw that needs to be fixed. An improvement would be to shave the sharp corners off the disc support and make them diagonal – this would improve the experience when inserting the disc into the player.
As the chest supports are perpendicular (horizontal cuts) this is not an option. For future designs, I would make the upper support panel a couple of mm longer in order to be more forgiving and make the lower support panel a single cut rectangle, allowing it to be sanded down on the top edges.
An alternative for the lower panel would be providing each individual disc with its own support – this way the design could be laser cut at an angle, eliminating the need for sanding, but introducing a fiddly task for positioning the supports (cut slots in the bottom of the box? Add a third panel with slots?).
No obviously perfect solution exists, but I’ll update with the results of attempts to improve this feature.
Music files
You can acquire the actual music files in any number of ways, but I downloaded mine from this tool here.
The tracks I selected were the ones I found most “listenable”, but there are 19 available at the time of writing.
Other future improvements
For a redo of this project – provided I can get the vinyl cutter to actually cut laminated print jobs – I’ll look at addressing the size issue. Within the game itself, the jukebox and chest blocks are the same size; it doesn’t particularly bother me that the chest is smaller, but it may be worth either sizing the chest up (and storing more discs) or sizing the jukebox down (and potentially shifting to 3mm thick discs).
In either case, non-trivial modifications will be required to the schematics.


