With the advent of the Raspberry Pi 3 and Zero W, newer Pi-s come with wireless baked-in, which is (IMHO) a welcome addition to help make setting up a Pi without Ethernet much more straightforward.
In fact, given my employer’s aggressively antisocial wireless network 1, it has become the norm for me (and my students) to set up a fresh Raspbian install using either a mobile hotspot or by tethering their phones. In neither case is Ethernet a useful option2.
“Headless” installs are setups which do not require a keyboard, mouse and monitor – given the ubiquity of networking and the low-power of Pi-like devices, it makes sense to be able to use an SSH session to do all your setup and get your device running without the hassle of directly using I/O in front of it. Plus, all the reference sites you’re using are probably open in the hundred or so tabs on your main computer3.
Without further rambling, here is the current easiest way to set up a Raspbian Buster install to be headless, using MacOS as the host machine:
- Write your image to a micro SD card. I am lazy and use Balena Etcher rather than DD, although at the time of writing, it’s a little broken when used with MacOS Catalina.
- Remove your SD card and pop it back in. Do not boot your Pi with it at this stage. You need to make these changes for the first boot or Raspbian will ignore them.
- It should appear mounted as “boot”. This is the only section of the new filesystem you can read and write on the host machine.
- Open a terminal, because we’re all adults here and GUIs are only for circumventing the DD command using Balena Etcher.
- Change directory to the boot partition on the card and create a file called “ssh”:
cd /Volumes/boot
touch ssh
- edit a new file called “wpa_supplicant.conf”4
nano wpa_supplicant.conf
Put this content in it, replacing the placeholders in quotes (but keep the quotes) with bits relevant to you:
update_config=1
country=AU
ctrl_interface=/var/run/wpa_supplicant

network={
 scan_ssid=1
 ssid="Your Network Name"
 psk="Your Network Password"
}
That’s it – you can eject your card safely5, pop it in your Pi and power up.
Some additional notes, for fun and profit:
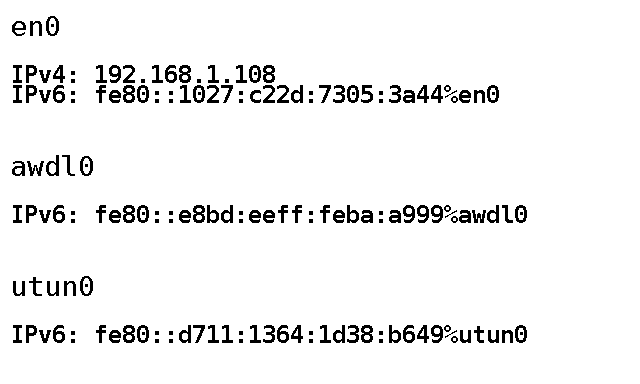
Q. How do I find the IP of my Pi after it boots, so that I can SSH in?
A. If you’re using an Android phone to hotspot – you can find a list of connected devices in the settings along with each of their IPs.
If you’re using a mobile hotspot or home router, log in to its web interface to view connected devices or get your phone to connect to the network use a network scanning tool such as Fing.
If you’re using an iPhone to hotspot – umm. I don’t know. Last I checked, they tell you how many devices are connected, but not any details about them (thanks Apple! I hate it!) and Fing doesn’t return details when it’s run on the hotspot itself. Arp has decidedly mixed results. There is apparently an app that can be downloaded to show you details of devices connected to your iPhone.
Q. Isn’t there other info I should include in my wpa_supplicant config? Like the country code?
A. Probably. It works fine for me without country code and I’m all for minimising the content that has to be customised in a config. Perhaps AU and UK wireless devices just interconnect fine, or perhaps some other WiFi voodoo has done away with the need for CCs. If you’re in the US, does it not work without a country code? I do know that in a previous version of Raspbian (Jessie, perhaps?), the Pi would refuse to connect if CC wasn’t set, so do with that what you will.
UPDATE IN 2020:
You absolutely do need to set the country code, especially if you’re using the 5GHz bands. Recent RPi OS builds seem to enforce this again. I’ve included the AU code in the example above (since I’m in AU), but you’ll need to set yours as per this list.
Q. I have to put my password in a config in plain text. What gives?
A. You don’t have to. There are ways to hash it and store it in the config.
Here’s the thing though – I’m betting this WiFi password is either a home network or a hotspot – and in either case, it’s a shared key in the literal sense of the term – lots of people know it, and it’s trivially easy to change it (at least on the router).
If you’re setting this up on a corporate network, my little config above won’t get you connected anyway. I’ve made it work in the past, but mobile devices I’ve connected to our corporate network have been… idiosyncratic. They lose Internet access or randomly change IP or need to be power cycled with a 15 minute delay every day. In short, I haven’t found Raspbian, or even many Linux distros that are cooperative with (what is probably a poorly configured) corporate WiFi, so in this day and age, it’s easier just to work around it rather than try to join it. :-/
