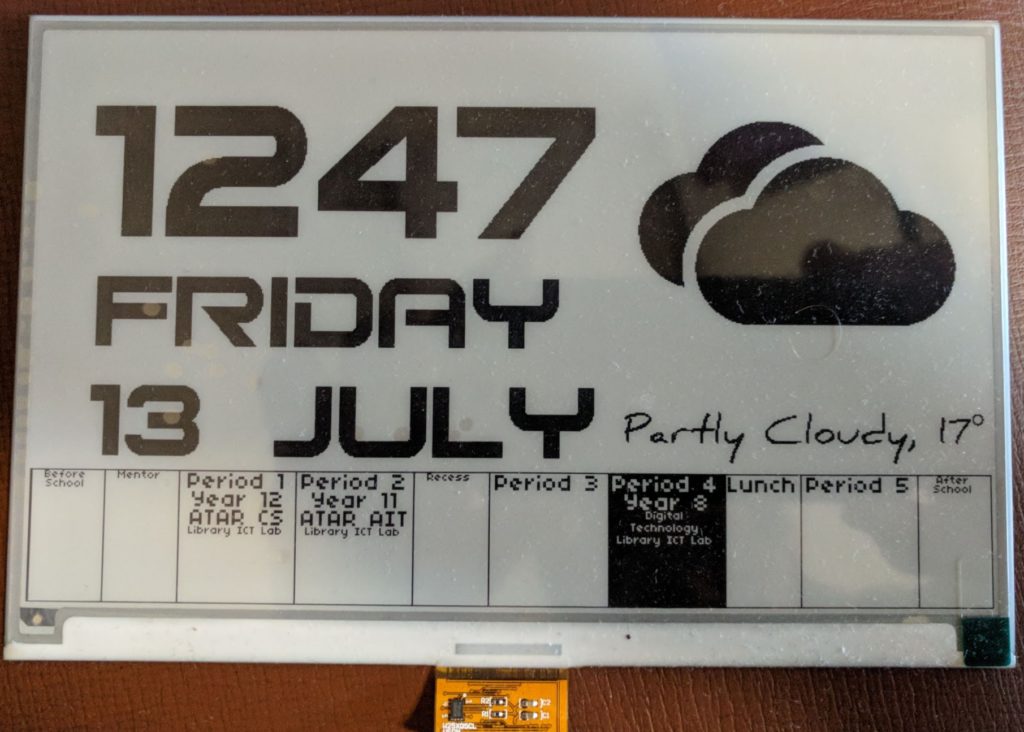
I’m currently playing around with one of these E-paper modules:
The panel is great for its price and ease of use – Waveshare ship this model with a Raspberry Pi hat and provide a number of software libraries for interacting with them.
I’ll follow this up with a breakdown on how I created my wall clock, but just quickly, a quibble with Raspberry Pi/headless systems in general:
My place of work has a… restrictive network when it comes to BYOD. It’s better than it used to be, but unless you can easily connect to an enterprise wifi network (difficult, but not impossible with the Pi) you’ll need to connect an ethernet cable (and not mention it to the techs). In either case, you’ll get an IP address. But you won’t be able to figure out what IP address without plugging in a display.
There is an opportunity with a display like this to work around this problem: run a program on start up to push the IP addresses of all network interfaces to the panel.
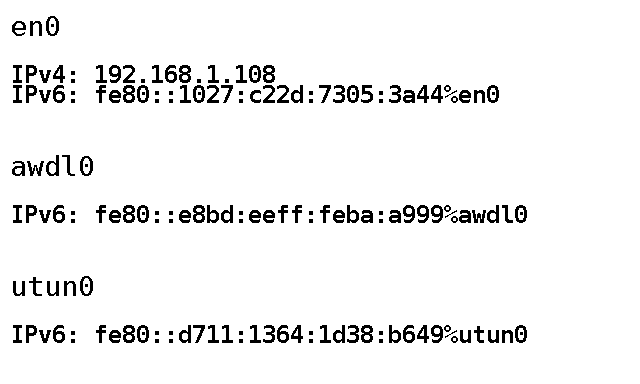
Without further ado, PaintIP, a small Python script that will get a list of IPs for your interfaces and paint them to the panel:
The “screenshot” pictured here is actually the image generated by the program which is then pushed to the panel.
It’s a minor thing, but sometimes the ability to bring your device in from home, plug it in and immediately know which IP to SSH to is a lifesaver.
Rejected (and hilarious) alternative:
A program which simply takes a screenshot of the primary console, munges it into the right resolution at 1 bit colour and paints the display every 6 seconds (why 6 seconds? because this particular panel has a 6 second refresh – not ideal, but mostly workable).
I actually made this abomination, based on a technique from this here blog post.
#!/bin/sh
snapscreenshot -c1 -x1 -12 > console.tga
convert console.tga -depth 1 -colors 2 -colorspace gray -resize 640 -negate -gravity center -extent 640x384 -sharpen 0x3.5 BMP3:console_bw.bmp
python curator.py console_bw.bmp
It literally just uses snapscreenshot and ImageMagick’s convert program to create the 1 bit image of appropriate resolution and then calls a Python script to display said image.
Could I have put all this in a single Python script? Probably, but it’d have system calls to run snapscreenshot and convert (Python’s ImageMagick libraries leave much to be desired) and honestly I just needed the thing working now.
Curator is a very basic script that takes an image as an argument and displays it on the E-Paper panel – barely a modification of Waveshare’s example script.
Still, there might be the odd time when it’ll be useful to see a shot of the console for debug purposes – nothing stopping someone from configuring a hardware button to run the console dump shellscript.
Oh, and there are a handful of ways to get a program running on startup with a Pi, but the one I ended up using is simply inserting it into rc.local.
